Cheat Sheet: Why homemade nut milk is, like, way better for you.
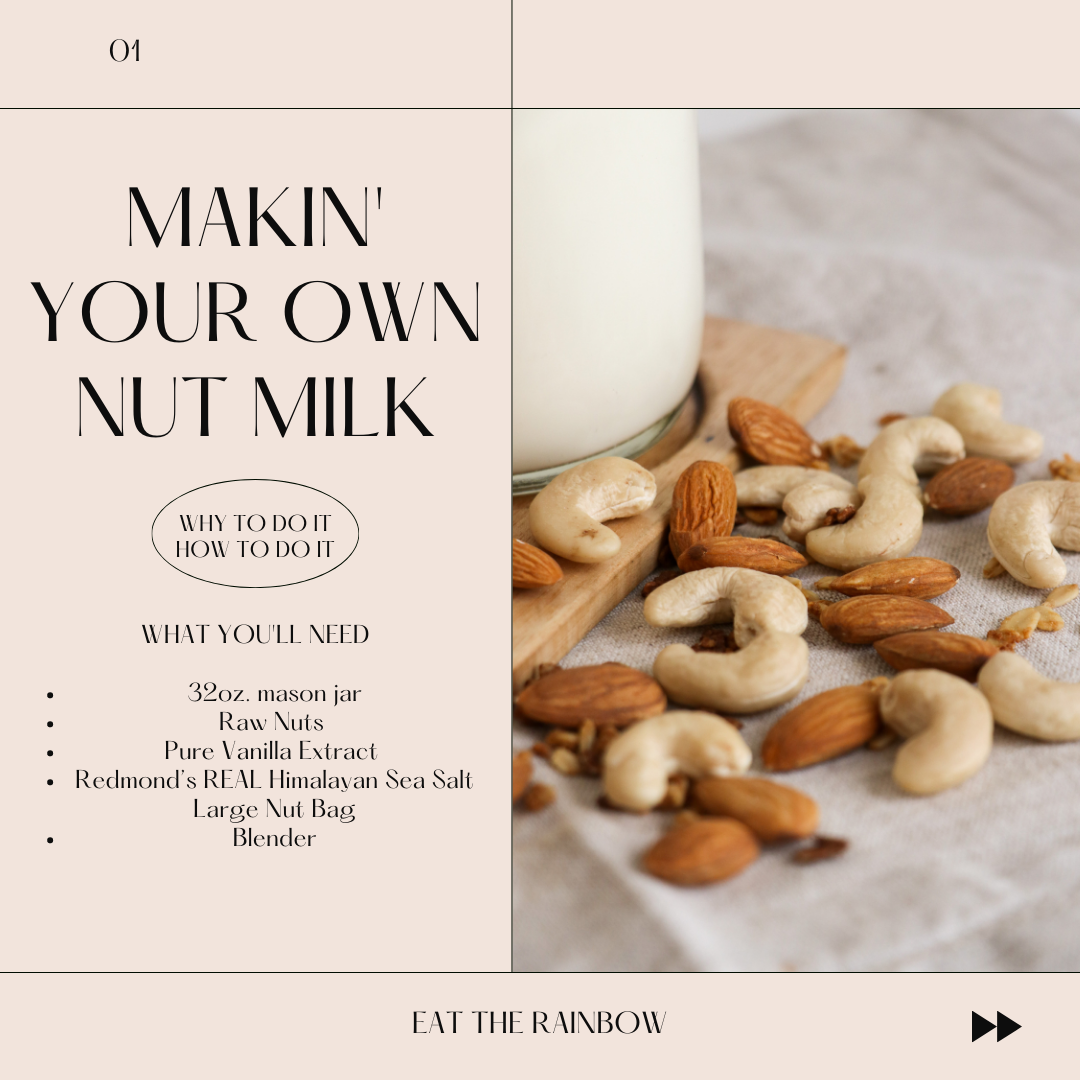
Homemade Nut Milk
Next time you’re in the grocery store, swing by the nut milk section, grab a carton, flip it over and check out the list of ingredients. We’re 99% sure that there will be a few ingredients that you won’t be able to pronounce… or that just sound flat out chemical-y… like Xanthan Gum.
These store-bought milks are also overpriced. Why? They’re 70-80% water + additives. So, aside from the negative impact that the additives in store-bought nut milk has on your health, making your own at home puts your heard-earned dough back in your pocket.
Biggie was right about a lot of things, but in this case, sorry B.I.G. … Mo money; Mo health; Less problems.
HOW TO MAKE YOUR OWN NUT MILK
You can use any type of nut you want — they’re all fantastic for your overall health! Just make sure they’re RAW, unfrosted, unsalted, and definitely un sweetened.
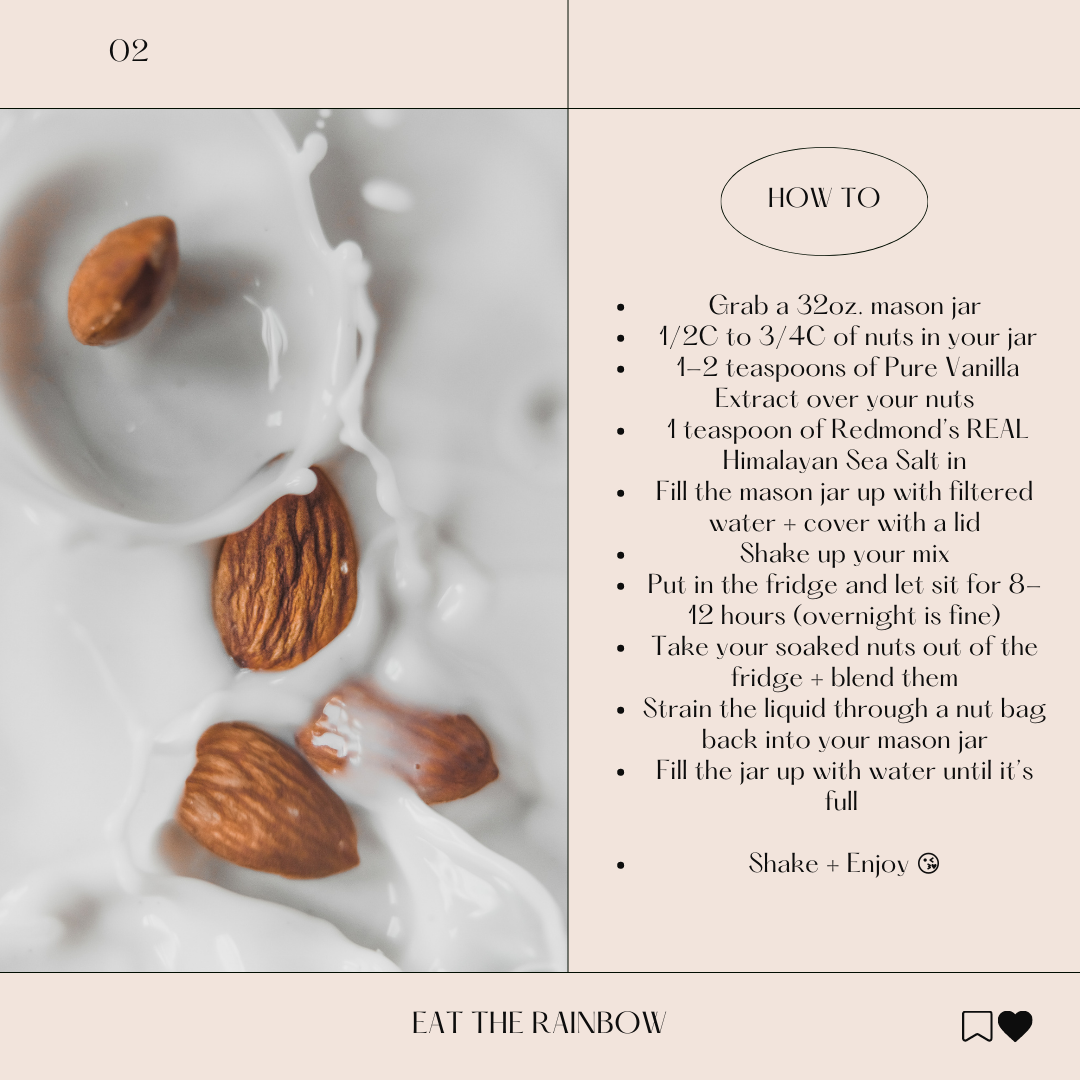
Grab a 32oz. mason jar
Dump 1/2C to 3/4C of nuts in your jar. If you want creamier nut milk, go for a full cup or more
Throw 1-2 teaspoons of Pure Vanilla Extract over your nuts. Look at the ingredients and make sure there are no additives or natural flavors. The ingredients list should be: water, alcohol, vanilla bean extractives. That’s it.
Toss 1 teaspoon of Redmond’s REAL Himalayan Sea Salt over your nuts + vanilla
Fill the mason jar up with filtered water + cover with a lid
Shake up your mix
Put in the fridge and let sit for 8-12 hours (overnight is fine)
Take your soaked nuts out of the fridge + blend them
Strain the liquid through a nut bag back into your mason jar
Fill the jar up with water until it’s full - it will lose some volume because you’ve filtered out the liquid
Enjoy 😘
Prep takes about 60 seconds. Blending takes about 30 seconds. Straining takes about 30 seconds.